Visiting an arcade filled with a cacophony of digital sights and sounds was always an exciting experience when I was young. I dropped so many quarters and tokens into those machines back in the day. I didn’t matter whether the place was filled to the brim with dozens of shiny new games, or if it was some dark corner of a pizza parlor with a couple of tough, old cabinets that had seen better days. When I saw an arcade, it wouldn’t be more than a second or two before I asked my mom if I could play.
While setting up my home office, I knew that I definitely needed an arcade cabinet standing in the corner. I’d install MAME on it so that I could play all of my old favorites, I’d set it up for two players going head-to-head or playing co-op, and it definitely had to be full-sized. Go big or go home, right?
Okay, so technically… I started with something much smaller than a full-sized cabinet, as you’ll see below. Later, in the upcoming part 2 of this series, I’ll share my experience upgrading to the big cab.
The thing that I was most excited about with this project was wiring up the buttons and joysticks and seeing a game actually respond to something that I had built myself. Yeah, it would just be some off-the-shelf parts that I bought and assembled, but still… creating something physical (even if it’s not too complex) brings me a really visceral sense of satisfaction.
Anyway, the extent of my experience with anything resembling this kind of project was mostly building a couple of gaming PCs from parts. On the electrical side, I also learned some basic wire splicing to fix a damaged cord on a table lamp, and I’ve upgraded some light switches in my house. I’ve always wanted to learn more about how to build fun, little custom gadgets, so after those previous projects, this feels like a natural progression.
The Enclosure/Case
With learning to hook up the wired controls being my primary interest, I didn’t want to overwhelm myself with too much complexity on the other tasks. A full-sized arcade cabinet could wait while a learned a thing or two first. Instead, I decided that I should start by creating some kind of small enclosure for the joysticks and buttons, where I could connect it to the TV in my living room.
I took a woodworking class in high school, but that was nearly 20 years, and those skills are long forgotten. Keeping my eyes on the electronics that I wanted to focus on, I looked for some kind of kit with pre-cut wooden pieces that wouldn’t require too much work (but also wouldn’t feel as basic as something from IKEA either). I hope to spend more time learning basic carpentry skills someday in the future, though. Just not right now.
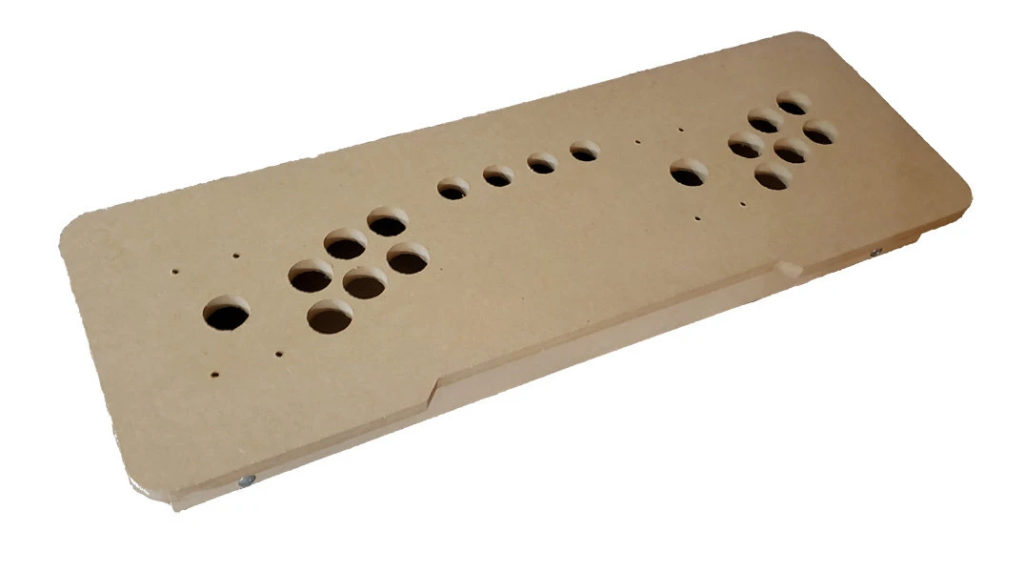
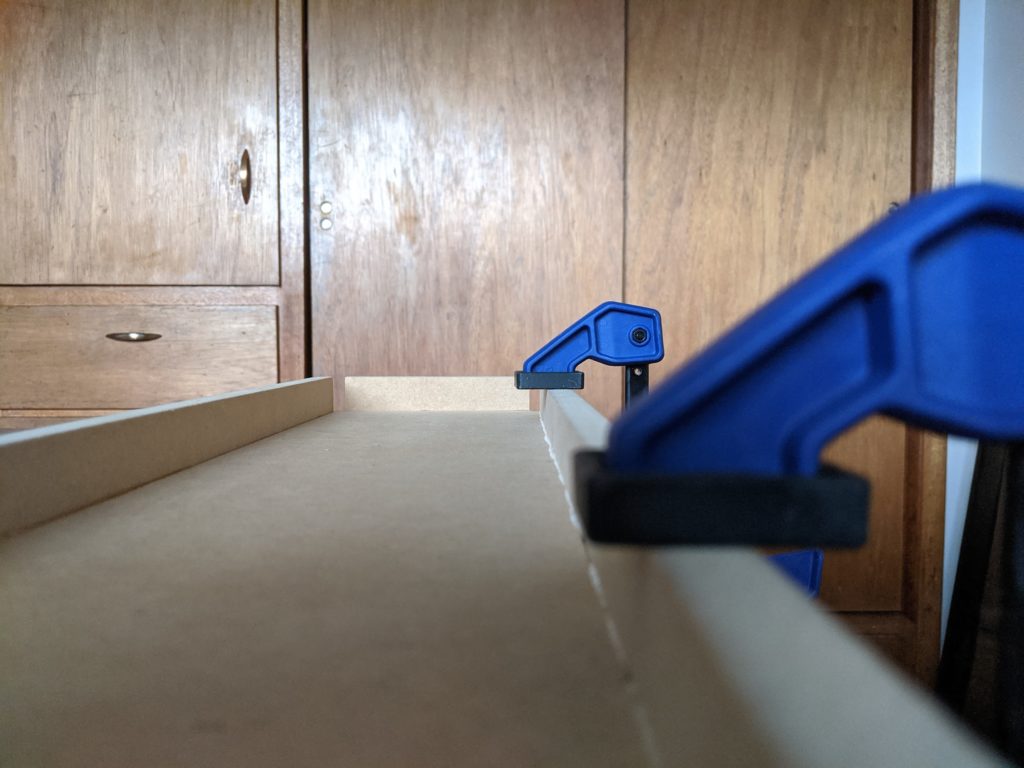
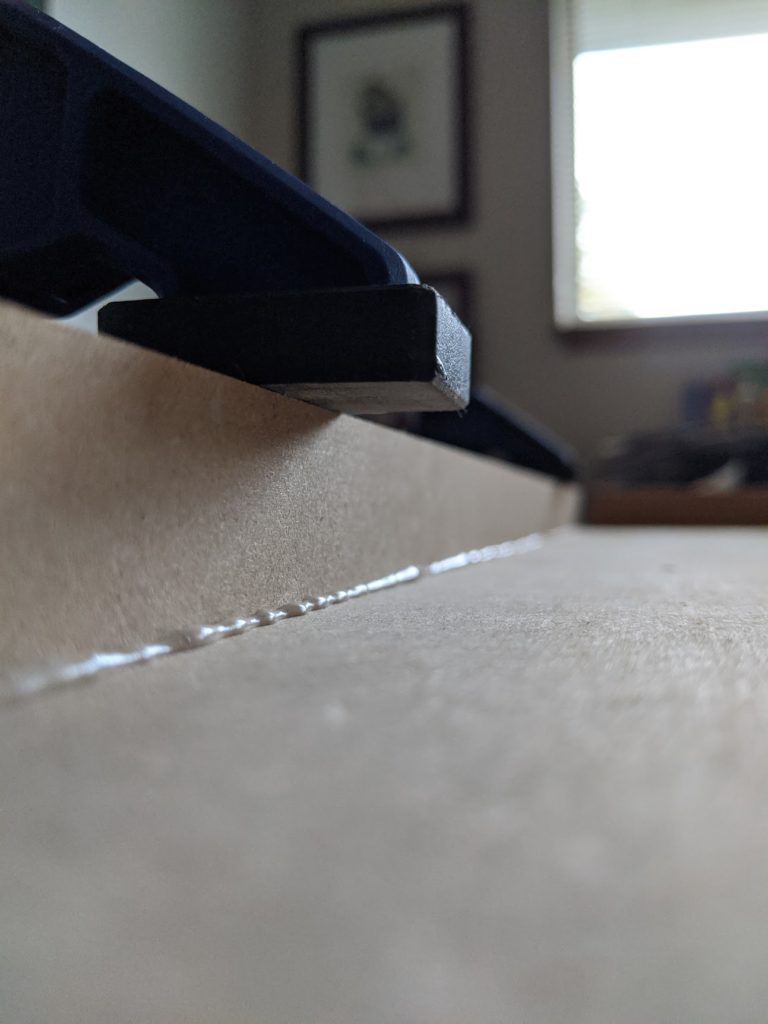
I settled on the LVL2GO 2-player arcade stick kit from LEP1 Customs. It requires a little wood glue and a screwdriver (a drill is easier, from my experience). I also used some clamps to hold the parts tight while the glue dried.
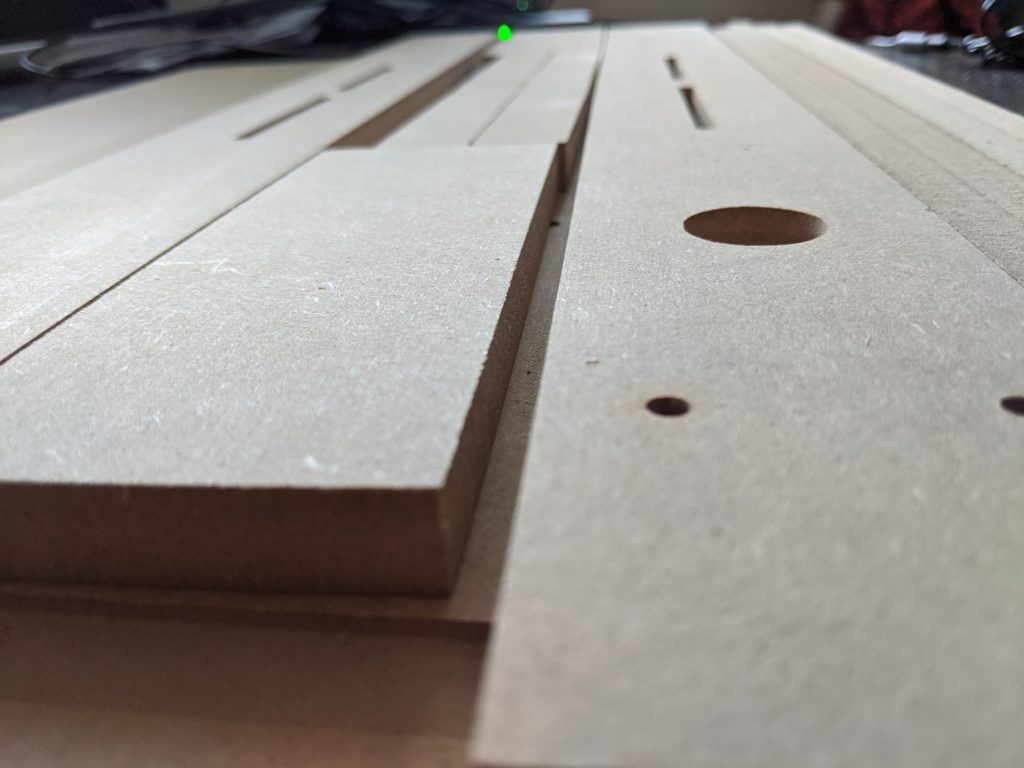
This kit doesn’t seem to come with any instructions. Some basic illustrations or a photo of the finished interior would really improve this kit, in my opinion. It’s not super complex, but I had to pause for a bit to try visualizing how everything should go together before I could feel confident getting started. In the end, I’ll admit that this was kind of a fun puzzle.
The Computer
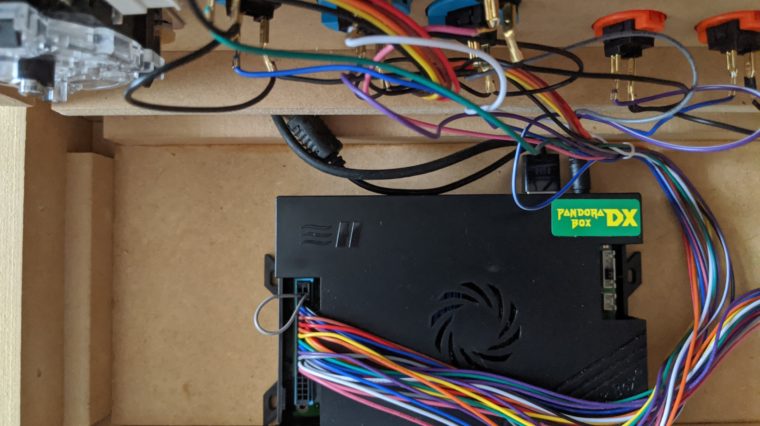
For the computer, I started with a Pandora’s Box DX “Family Version”. It’s basically a Chinese grey-market emulation system preloaded with a bunch of games. The idea was to get a plug-and-play system with little to no special configuration required.

I bought it from the Pandora’s Box Official Store on AliExpress, along with its special wiring harness that connects to the joysticks and buttons. The shipment arrived from China within a couple of weeks. I also ordered a generic AC power adapter from Amazon, since one was not included with the Pandora’s Box.
A Raspberry Pi running RetroPie is another compelling option for arcade emulation. RetroPie requires a tiny bit more configuration to set up, so I decided to wait and try it later. Again, keeping things simple on my first try!
Joysticks and Buttons
For the arcade controls, I decided to go with the very popular Sanwa JLF joystick along with Sanwa OBSF-30 buttons for the main controls, and I used some smaller OBSF-24 buttons for secondary coin/player buttons.
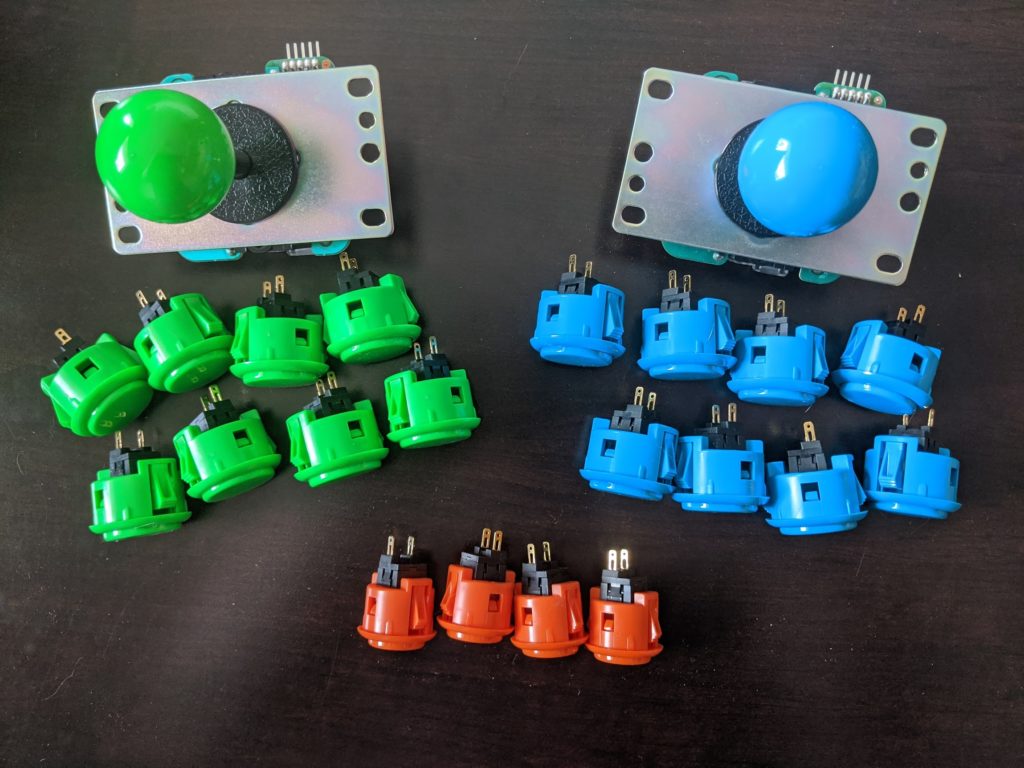
Here’s what I picked up on Amazon (paid links):
Two other popular brands that create arcade controls are Seimitsu and Happ. As I understand it, if you really want to re-create the American arcade experience to the last detail, with convex buttons and the right joystick tension, you should consider going with Happ. I chose Sanwa mostly because I liked their appearance. If you’re interested in a deep dive, the Slagcoin Joystick and Button guide seems like it really goes into great detail about the differences between brands.
Final Assembly
The Pandora’s Box wiring harness has spade connectors at the end of each wire, and those easily slip onto the buttons. The wires are color-coded and the manual includes a lookup table. No soldering required (but I’d love to learn that skill eventually). The joystick has it’s own connector for the five wires that it uses (one for each direction, I think, plus a ground wire).
A ground wire is daisy chained from button to button. Unfortunately, the smaller secondary buttons were far enough away from the larger six main buttons that the last couple of daisy chain connections didn’t quite reach. I ended up pulling an unused wire from elsewhere, and I spliced it in to extend the ground wire. I used a couple of 3M Scotchlok connectors that I had left over from another project.
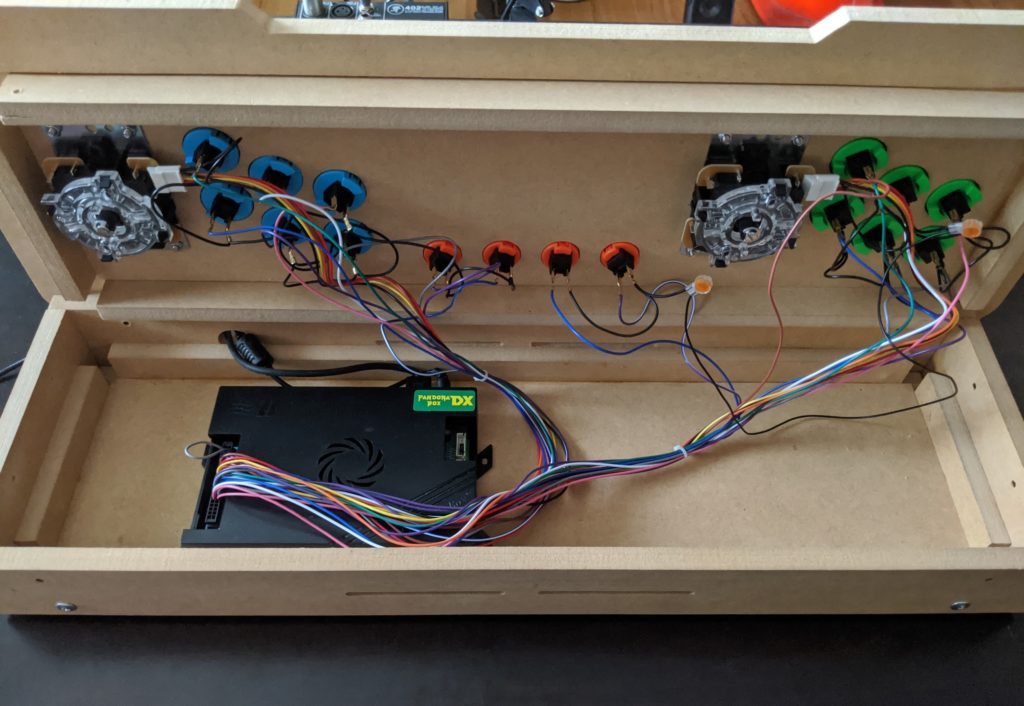
The exact placement of the Pandora’s Box inside the enclosure turned out to be important because, if the computer were placed directly below a button, it would stop the button from completing a full push down. It also bent the spade connectors a bit at the same time. I found a good spot slightly off center that seemed to work decently, even if it overlapped some buttons. A taller and wider computer would have prevented the enclosure’s top from closing at all.
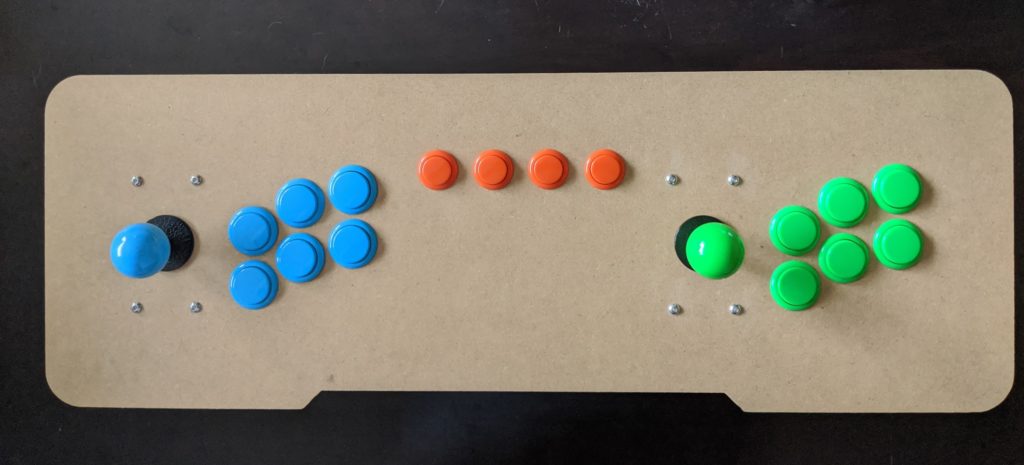
I intend to paint the enclosure eventually, but I haven’t been in the mood to do that yet. For now, I don’t mind the unfinished wood.
To connect to a TV, the Pandora’s Box uses a normal HDMI cable. It turns on immediately when plugging in the AC adapter. No power button or switch, but you could buy one, if you prefer to leave it plugged in.
I’ve had a lot of fun with this little project! I’m excited for the full-sized cabinet upgrade too. At the time that I’m writing this, I have the cabinet assembled and everything is wired up. I need to organize the internals better, and I’m considering adding hinges in a couple of places, to create easy access panels. I’ll do another writeup with all of the details soon!