Author Archives: Josh Tynjala

About Josh Tynjala

Josh Tynjala is a frontend software developer, open source contributor, karaoke enthusiast, and he likes bowler hats. Josh develops Feathers UI, a user interface component library for creative apps, and he contributes to OpenFL. One of his side projects is Logic.ly, a digital logic circuit simulator for education. You should follow Josh on Mastodon.

Building an arcade at home: Part 1

Visiting an arcade filled with a cacophony of digital sights and sounds was always an exciting experience when I was young. I dropped so many quarters and tokens into those machines back in the day. I didn’t matter whether the place was filled to the brim with dozens of shiny new games, or if it was some dark corner of a pizza parlor with a couple of tough, old cabinets that had seen better days. When I saw an arcade, it wouldn’t be more than a second or two before I asked my mom if I could play.

While setting up my home office, I knew that I definitely needed an arcade cabinet standing in the corner. I’d install MAME on it so that I could play all of my old favorites, I’d set it up for two players going head-to-head or playing co-op, and it definitely had to be full-sized. Go big or go home, right?

Okay, so technically… I started with something much smaller than a full-sized cabinet, as you’ll see below. Later, in the upcoming part 2 of this series, I’ll share my experience upgrading to the big cab.

The thing that I was most excited about with this project was wiring up the buttons and joysticks and seeing a game actually respond to something that I had built myself. Yeah, it would just be some off-the-shelf parts that I bought and assembled, but still… creating something physical (even if it’s not too complex) brings me a really visceral sense of satisfaction.

Anyway, the extent of my experience with anything resembling this kind of project was mostly building a couple of gaming PCs from parts. On the electrical side, I also learned some basic wire splicing to fix a damaged cord on a table lamp, and I’ve upgraded some light switches in my house. I’ve always wanted to learn more about how to build fun, little custom gadgets, so after those previous projects, this feels like a natural progression.

The Enclosure/Case

With learning to hook up the wired controls being my primary interest, I didn’t want to overwhelm myself with too much complexity on the other tasks. A full-sized arcade cabinet could wait while a learned a thing or two first. Instead, I decided that I should start by creating some kind of small enclosure for the joysticks and buttons, where I could connect it to the TV in my living room.

I took a woodworking class in high school, but that was nearly 20 years, and those skills are long forgotten. Keeping my eyes on the electronics that I wanted to focus on, I looked for some kind of kit with pre-cut wooden pieces that wouldn’t require too much work (but also wouldn’t feel as basic as something from IKEA either). I hope to spend more time learning basic carpentry skills someday in the future, though. Just not right now.
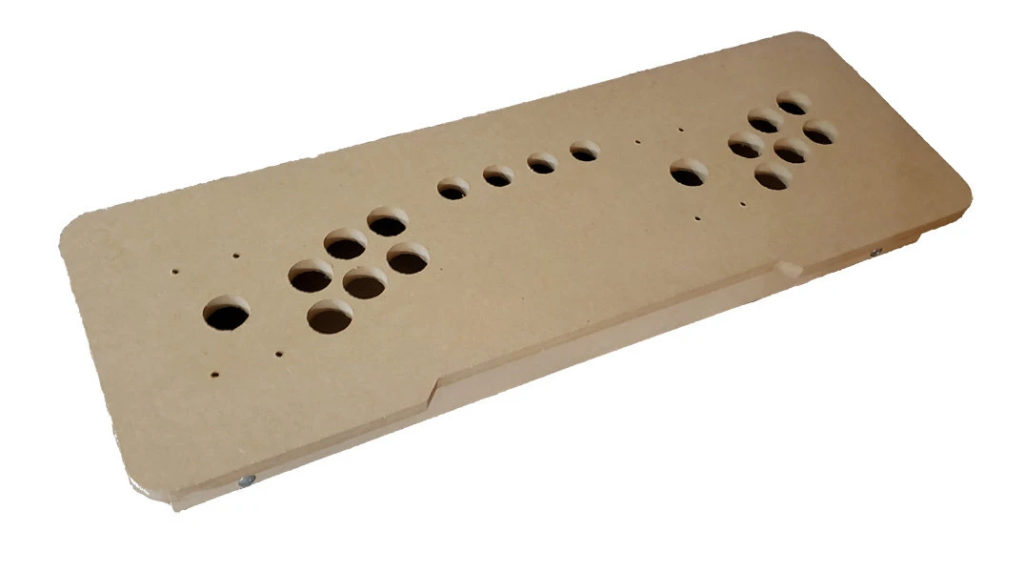
LEP1 Customs LVL2GO arcade stick kit

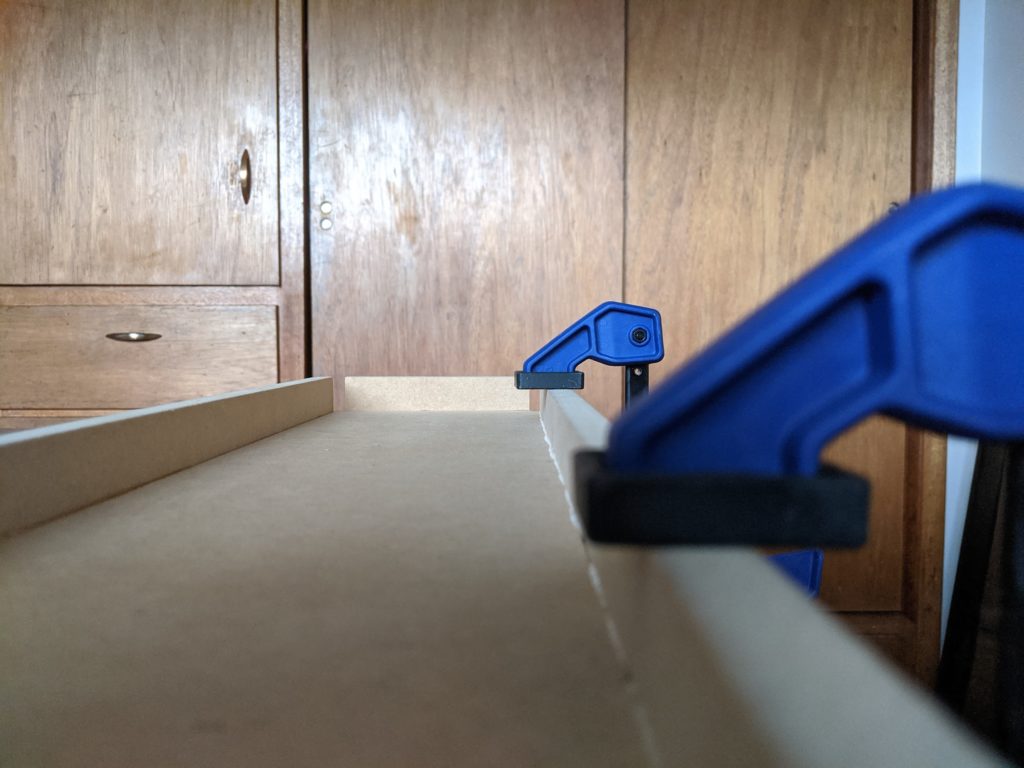
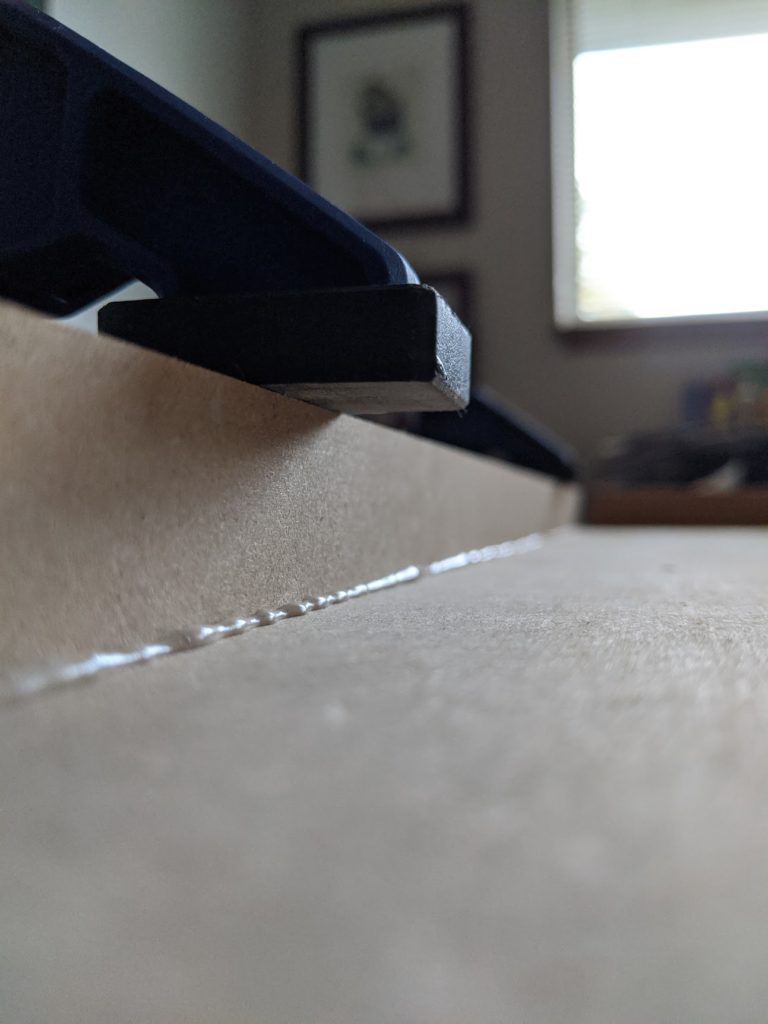
I settled on the LVL2GO 2-player arcade stick kit from LEP1 Customs. It requires a little wood glue and a screwdriver (a drill is easier, from my experience). I also used some clamps to hold the parts tight while the glue dried.

This kit doesn’t seem to come with any instructions. Some basic illustrations or a photo of the finished interior would really improve this kit, in my opinion. It’s not super complex, but I had to pause for a bit to try visualizing how everything should go together before I could feel confident getting started. In the end, I’ll admit that this was kind of a fun puzzle.

The Computer

For the computer, I started with a Pandora’s Box DX “Family Version”. It’s basically a Chinese grey-market emulation system preloaded with a bunch of games. The idea was to get a plug-and-play system with little to no special configuration required.
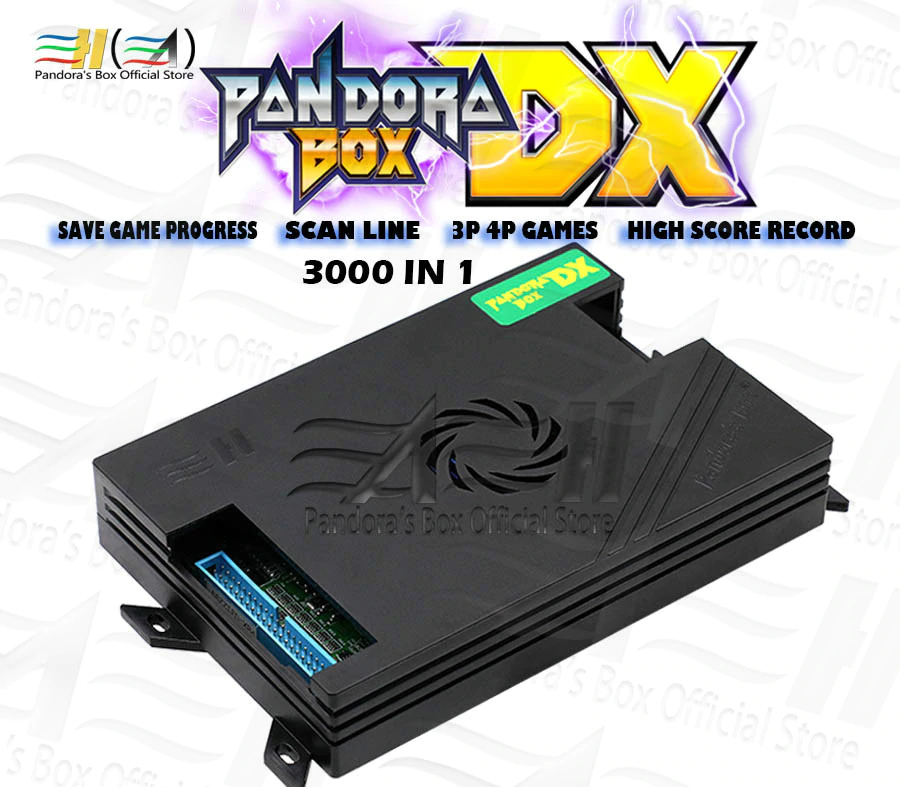
Pandora’s Box DX from AliExpress

I bought it from the Pandora’s Box Official Store on AliExpress, along with its special wiring harness that connects to the joysticks and buttons. The shipment arrived from China within a couple of weeks. I also ordered a generic AC power adapter from Amazon, since one was not included with the Pandora’s Box.

A Raspberry Pi running RetroPie is another compelling option for arcade emulation. RetroPie requires a tiny bit more configuration to set up, so I decided to wait and try it later. Again, keeping things simple on my first try!

Joysticks and Buttons

For the arcade controls, I decided to go with the very popular Sanwa JLF joystick along with Sanwa OBSF-30 buttons for the main controls, and I used some smaller OBSF-24 buttons for secondary coin/player buttons.
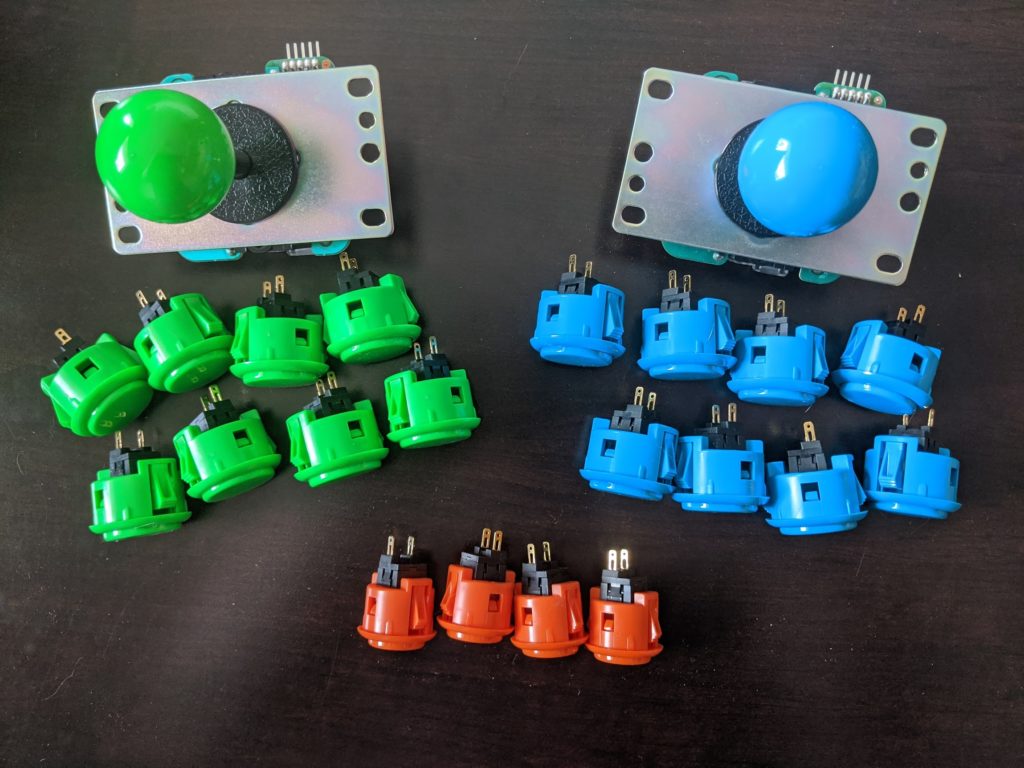
Photo of two Sanwa JLF joysticks, 16 larger OBSF-30 buttons, and 4 smaller OBSF-24
Sanwa joysticks and buttons

Here’s what I picked up on Amazon (paid links):

Two other popular brands that create arcade controls are Seimitsu and Happ. As I understand it, if you really want to re-create the American arcade experience to the last detail, with convex buttons and the right joystick tension, you should consider going with Happ. I chose Sanwa mostly because I liked their appearance. If you’re interested in a deep dive, the Slagcoin Joystick and Button guide seems like it really goes into great detail about the differences between brands.

Final Assembly

The Pandora’s Box wiring harness has spade connectors at the end of each wire, and those easily slip onto the buttons. The wires are color-coded and the manual includes a lookup table. No soldering required (but I’d love to learn that skill eventually). The joystick has it’s own connector for the five wires that it uses (one for each direction, I think, plus a ground wire).

A ground wire is daisy chained from button to button. Unfortunately, the smaller secondary buttons were far enough away from the larger six main buttons that the last couple of daisy chain connections didn’t quite reach. I ended up pulling an unused wire from elsewhere, and I spliced it in to extend the ground wire. I used a couple of 3M Scotchlok connectors that I had left over from another project.
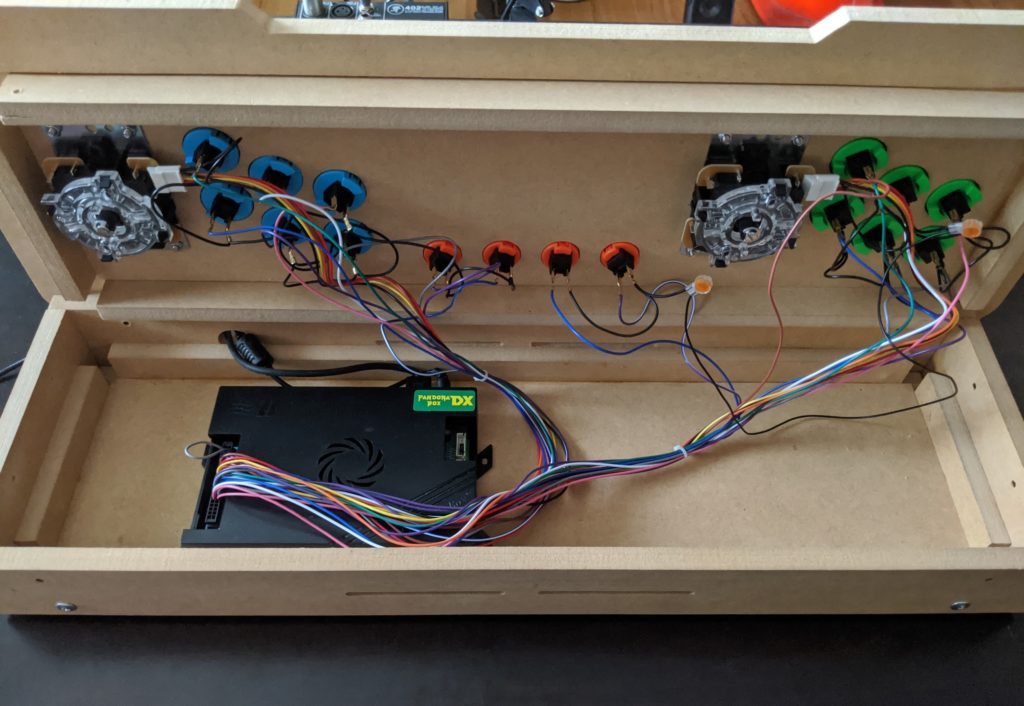
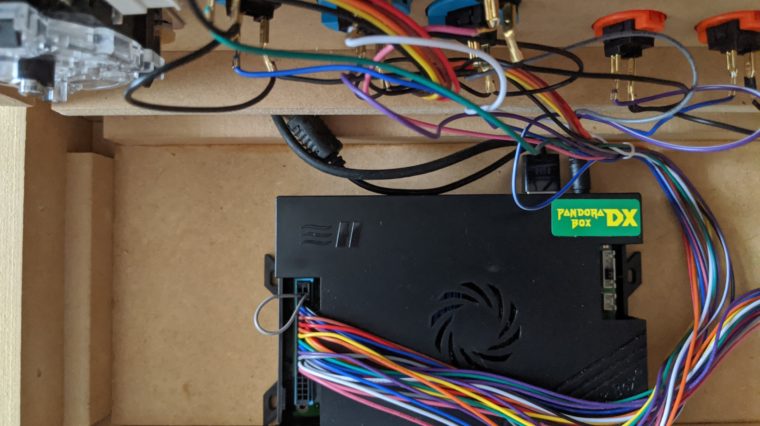
Interior. All wired up!

The exact placement of the Pandora’s Box inside the enclosure turned out to be important because, if the computer were placed directly below a button, it would stop the button from completing a full push down. It also bent the spade connectors a bit at the same time. I found a good spot slightly off center that seemed to work decently, even if it overlapped some buttons. A taller and wider computer would have prevented the enclosure’s top from closing at all.
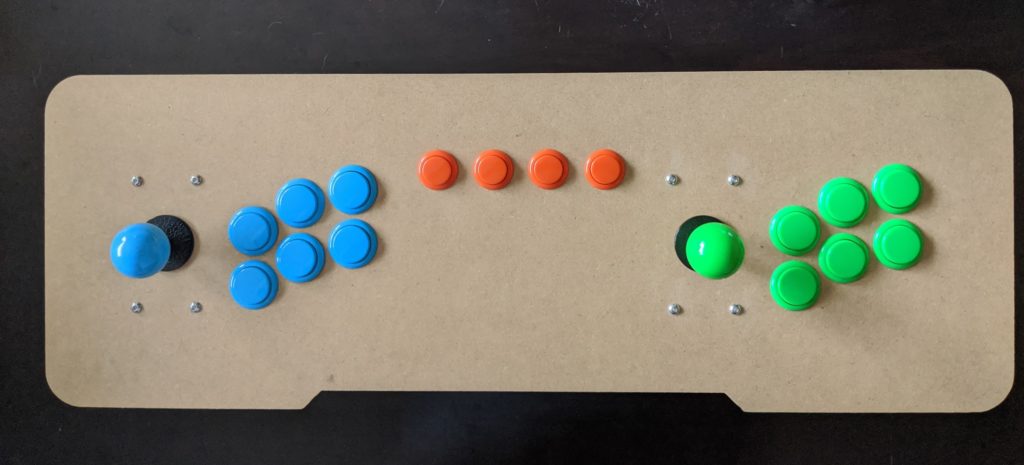
Top view. Cover closed. Buttons and joysticks inserted.

I intend to paint the enclosure eventually, but I haven’t been in the mood to do that yet. For now, I don’t mind the unfinished wood.

To connect to a TV, the Pandora’s Box uses a normal HDMI cable. It turns on immediately when plugging in the AC adapter. No power button or switch, but you could buy one, if you prefer to leave it plugged in.

I’ve had a lot of fun with this little project! I’m excited for the full-sized cabinet upgrade too. At the time that I’m writing this, I have the cabinet assembled and everything is wired up. I need to organize the internals better, and I’m considering adding hinges in a couple of places, to create easy access panels. I’ll do another writeup with all of the details soon!
Feathers UI for Haxe and OpenFL: Now live on Kickstarter

UPDATE: Feathers UI for Haxe and OpenFL is fully funded on Kickstarter!

UPDATE: For the latest news and announcements about alpha/beta preview builds, follow the Feathers UI blog.

About eight years ago, I open sourced the code for what would become Feathers UI. I was spending my days trying to be an indie game developer at the time, and I had recently tried out Daniel Sperl’s excellent Starling library. I could see that if my games switched to Starling, I’d get smoother animations and other performance improvements. For my games, I had already created a basic set of user interface components (buttons, lists, toggle switches, sliders and things like that) that worked on both iPhone and Android. After recreating those UI components in Starling, I decided that others might find them useful for building apps too. Publishing them on Github would change my life for nearly a decade.

Today, the technology landscape has changed a lot compared to 2011, with all sorts of new mobile devices — and web browsers that no longer allow plugins. While Feathers UI was generously sponsored by a company for a number of years, they’ve now moved in different strategic directions that, sadly, won’t include Feathers. Yet, over all this time, Feathers UI has grown and matured well beyond anything that I had ever imagined. Software developers have created so many amazing apps and games, and I am constantly inspired by how they use Feathers in incredible new ways. Certainly, much has changed on the web and in the wider realm of technology, but I believe that Feathers UI still has great value for software developers building creative apps and games.

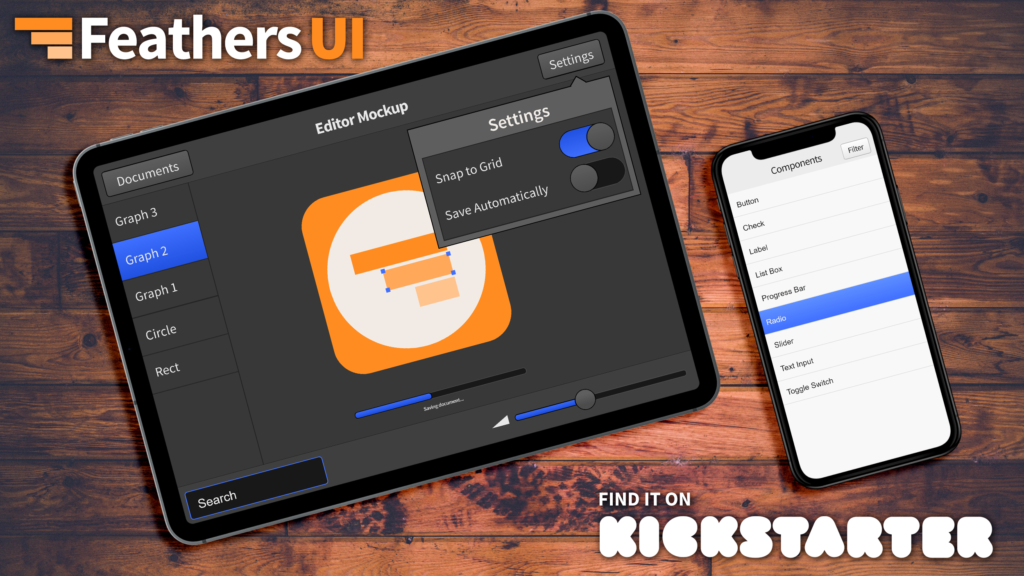
That’s why I’m launching a Kickstarter for Feathers UI, and I hope that you’ll support this project by becoming a backer. I’m looking to rebuild Feathers UI on a new foundation that will continue to make it easy to build cross-platform user interfaces on mobile, desktop, smart TVs, and even game consoles. This new version of Feathers UI will use the Haxe programming language and the OpenFL library. Developers who are already experienced with Feathers UI will feel right at home with a similar language and familiar APIs, but also new features and access to new platforms.

Support Feathers UI on Kickstarter

Additionally, I’m going to make Feathers UI into a more sustainable business that can fund itself going forward. I’m planning to introduce new premium add-ons that developers can purchase to support Feathers directly. These add-ons will include new advanced components (like charts and graphs), pre-made themes in a variety of styles, and in-depth technical educational content that teaches you the inner workings of Feathers UI. Of course, the core Feathers UI library will remain open source, and it will continue to expand with new UI components and features! These add-ons will be for developers with more specialized needs.

I may have written the code for Feathers UI, but the community gave it life. I hope that you will back the project on Kickstarter and help me re-imagine a modern Feathers UI that takes the best of the original Starling version, combines it with the advantages of Haxe and OpenFL, and makes it better than ever. Keep this excellent UI component and layout library in your toolbox by showing your support on Kickstarter.

Upgrading a React and TypeScript app from react-scripts-ts to Create React App v2.1

Recently, the React team updated Create React App with official support for TypeScript. Create React App makes it easy to create web apps with React by keeping the details of the build process out of your way. No need to configure Webpack, Babel, and other tools because Create React App offers very high quality defaults. It’s not a boilerplate, though. You don’t even need to see the build dependencies and scripts, unless you want to, and upgrading to new versions is super easy. TypeScript is a popular extension to JavaScript that adds compile-time type checking. The two combined, in my opinion, provides one of the best developer experiences you can get for modern frontend web development.

Previously, to use TypeScript with Create React App, you had to create your project with the custom react-scripts-ts, created by Will Monk. Starting in version 2.1 of Create React App, TypeScript works out of the box. I have several projects that were started with react-scripts-ts, and I recently decided to start upgrading them to Create React App v2.1. I thought I’d share the steps that I followed and my experiences with this process.

Create a new baseline app

To start, I decided to create a completely new app with Create React App. I figured that it would be a good idea to have a baseline app, where I could compare its files — like package.json and tsconfig.json — with the files from my existing projects. This new app would give me clues about what exactly I need to change to make the existing apps work properly with the new version of Create React App.

To create a new app, I ran the following command in my terminal:

npx create-react-app my-new-app --typescript

Update library dependencies

In the existing project that I was upgrading, some of my dependencies hadn’t been updated in a little while, so the next step I decided on was to update the react, react-dom, typescript dependencies, along with the type definitions, like @types/react, @types/react-dom, @types/node, and @types/jest. After updating the versions in package.json, I ran npm install to download them all.

I left react-scripts-ts untouched for now. The idea was to make sure that the existing project was using the exact same versions of the dependencies as the new baseline project, and it should still build properly with react-scripts-ts. It’s best to ensure that I wouldn’t run into any issues with new versions of React or TypeScript that might confuse me as a worked through any issues caused by the differences between react-scripts-ts and the official react-scripts.

I needed to make a couple of minor tweaks to so that the new version of the TypeScript compiler was happy, so it was a good thing that I took this extra step.

Switch from react-scripts-ts to react-scripts

Once all of my library dependencies matched and the project would still build with react-scripts-ts, it was time to switch to the official react-scripts. Inside package.json, I replaced the react-scripts-ts dependency with react-scripts. I copied the version number of react-scripts from my new baseline project. Then, I needed to update the npm scripts inside package.json to use react-scripts:

"scripts": {
  "start": "react-scripts start",
  "build": "react-scripts build",
  "test": "react-scripts test",
  "eject": "react-scripts eject"
}

I replaced react-scripts-ts with react-scripts in each of the npm scripts above. Then, inside the build script, I saw that my existing project included a --env=jsdom option, but the new baseline project did not. I removed this option so that they matched.

Update configuration files

Next, I compared tsconfig.json in both projects. I could see some major differences, like outputting ES Modules instead of CommonJS, and preserving JSX so that Babel could handle it instead of letting the TypeScript compiler do everything. I decided that I would simply copy the contents of tsconfig.json from the new baseline project to the existing project and then make a couple of small tweaks. I ended up setting the lib compiler option to ["es2015", "dom"] so that I could access some newer JS APIs, and I set the strict compiler option to false because I haven’t updated my project to use strict mode yet. Otherwise, I used Create React App’s defaults, which all seem to be working well.

Similarly, I compared package.json in the two projects. I had already updated the dependencies and npm scripts, so the differences at this point were very minor. I saw that the new baseline project included two new fields that were not in the existing project, eslintConfig and browserslist. These defaults (which configure eslint and Babel) provided by Create React App seemed fine, so I copied them over.

In theory, the migration process should be done at this point. If all goes well, you should be able to run npm start to launch the development server, or you can run npm run build to create a production build. For my project, I ran into a couple of issues that I needed to resolve, but nothing major.

Fix compiler errors

I use the react-loadable library to load parts of my app at runtime using code splitting. My imports in TypeScript originally looked like this:

import * as ReactLoadable from "react-loadable"

However, there seemed to be a problem with the following code:

let AdminHomeScreen = ReactLoadable({
  loader: () => import("./AdminHomeScreen"),
  loading: LoadingScreen
});

The TypeScript compiler gave me the following error:

Cannot invoke an expression whose type lacks a call signature. Type ‘{ default: Loadable; Map<Props, Exports extends { [key: string]: any; }>(options: OptionsWithMap<Props, Exports>): (ComponentClass<Props, any> & LoadableComponent) | (FunctionComponent<Props> & LoadableComponent); preloadAll(): Promise<…>; preloadReady(): Promise<…>; Capture: ComponentType<…>; }’ has no compatible call signatures.

For some reason, I could not call the ReactLoadable module as a function. It turned out that I needed to change the import to look like this instead:

import ReactLoadable from "react-loadable"

In order to call a module like a function, you need to import the module’s default export. I think this may have been related to switching from CommonJS modules to ES Modules in tsconfig.json.

After fixing this issue, I could successfully run npm start to launch the development server, and I could open my app in a web browser and use it! However, I discovered one last issue that I needed to fix.

Fix production build

While npm start worked for development, I got a strange error when I ran npm run build to create a production build of my React app.

module.js:550
throw err;
^

Error: Cannot find module ‘webpack/lib/RequestShortener’
at Function.Module._resolveFilename (module.js:548:15)
at Function.Module._load (module.js:475:25)
at Module.require (module.js:597:17)
at require (internal/module.js:11:18)
at Object. (C:\Users\josht\Development\karaoke-butler\karaoke\client\node_modules\terser-webpack-plugin\dist\index.js:19:25)
at Module._compile (module.js:653:30)
at Object.Module._extensions..js (module.js:664:10)
at Module.load (module.js:566:32)
at tryModuleLoad (module.js:506:12)
at Function.Module._load (module.js:498:3)
npm ERR! code ELIFECYCLE
npm ERR! errno 1
npm ERR! react-client@1.0.0 build: `react-scripts build`
npm ERR! Exit status 1
npm ERR!
npm ERR! Failed at the react-client@1.0.0 build script.
npm ERR! This is probably not a problem with npm. There is likely additional logging output above.

npm ERR! A complete log of this run can be found in:
npm ERR! C:\Users\josht\AppData\Roaming\npm-cache\_logs\2018-11-25T01_57_14_654Z-debug.log

Unfortunately, a quick Google search did not find anyone having the same issue with Create React App. However, I saw some folks using other frameworks, like Vue or Angular, were getting similar errors. Eventually, I found someone who discovered that it was some kind of conflict inside the notorious package-lock.json. Ever since npm started using this file, it’s been a terrible source of problems, in my experience.

Anyway, I deleted package-lock.json and the node_modules folder. Then, I ran npm install to install all of my dependencies from scratch. That did the trick because npm run build started working correctly.

I don’t really know why package-lock.json always seems to cause problems like this, but I find that deleting this file and the entire node_modules folder frequently fixes issues that I run into. I don’t know if I’m doing something wrong, or if it’s a bug in npm.

My project is upgraded

Updating dependencies in some of my web projects can be daunting sometimes. For some of them, I usually need to set a full day aside to fix everything. With that in mind, I was expecting to hit a few more snags in the process of upgrading from react-scripts-ts to the official version of Create React App. However, the changes required in my app were relatively minor. The process felt very smooth, and I’m happy that I’ll be able to easily update to new versions of Create React App in the future as the React team continues to innovate.